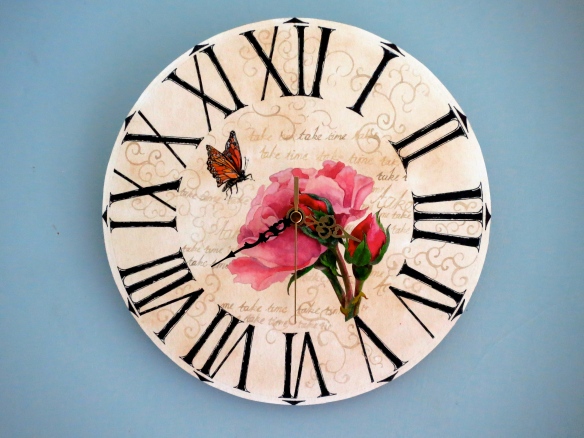
This is a tutorial describing how to make a vintage or shabby chic clock from scratch. All you need is the clock mechanism. The clock could look like this although you can change it to whatever look/style you wanted with a bit of imagination.
These are the materials and tools you will need.
Water colour paper, water colour paints and brushes, compass, rubber, sharp pencil, ruler, protractor, scissors, craft mount (spray), used tea bag, MDF/wood circle, drill and wood drill bit, sand paper, a rose to inspire you, thin and medium sharpie pen in black, clock mechanism and battery.
Firstly you need to draw a circle with the compass to the size you would like your clock. Make sure you check that it is the right size for your clock hands.
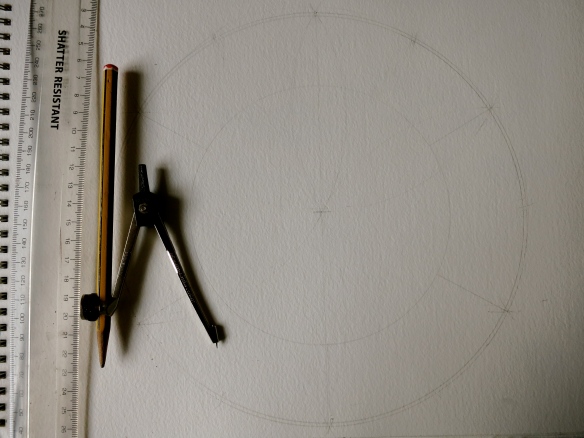
Then make a circle slightly smaller than the outer circle-this will be like a thin border. Then make a much smaller circle where you think your Roman numerals will end.
Draw a line from 12-6 on your clock face and use this and the radius of the circle (compass) to determine where 2, 4, 8, 10 will come on the face (remember you already have 6 and 12). For the rest of the numbers in between you’ll need to divide 360 degrees by 12, which gives the answer of 30 degrees. This is how many degrees distance each number is apart from the next number.You may find that you have your own method which makes sense to you rather than follow mine.
(You could just mark 6 and 12 with a straight line and then measure out 30 degrees using your compass and sharp pencil and keep working the 30 degrees around the clock until you get back to the 12.)
Now you’ve got all your 12 points marked out on the face, its time to get in those Roman numerals. It helps to have some inspiration to remind you of them-google is sufficient. I began at 1 and worked my way around. I used my ruler to measure the distance between the numerals so that the point on the clock fell in the middle of the numeral.
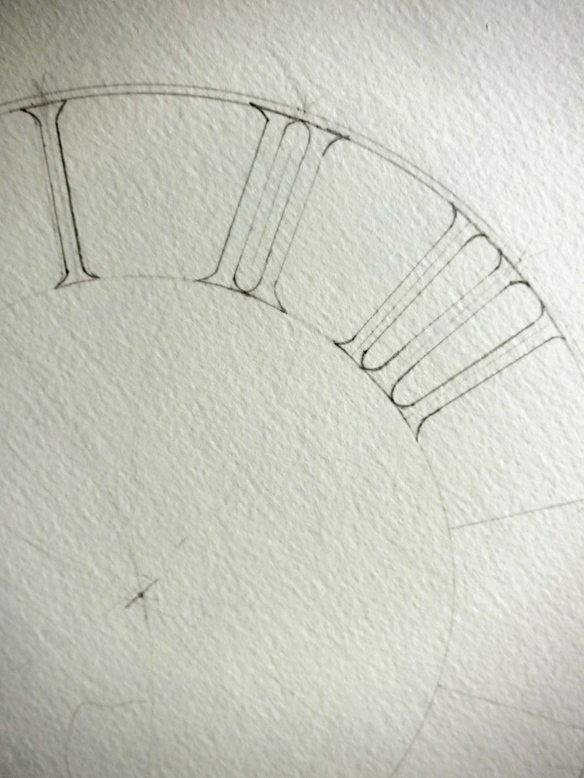
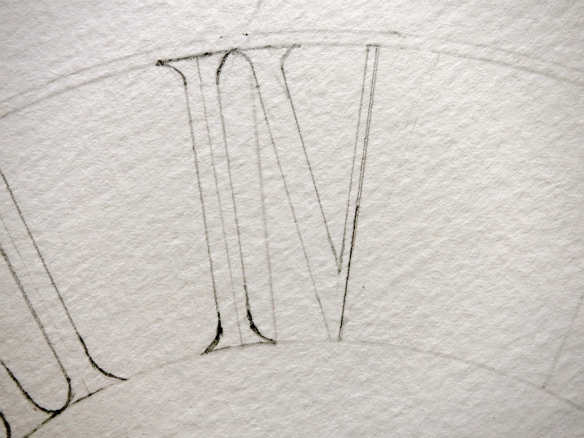
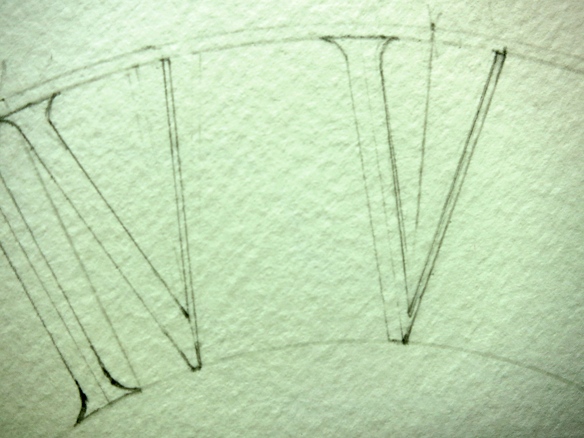
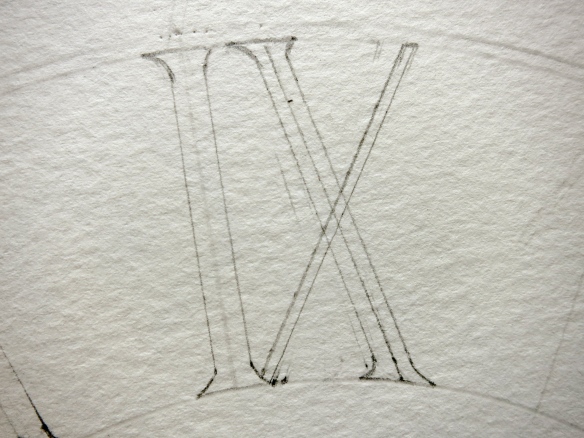
Check the shape of Roman numerals, some sides of a number are thinner than others. Try to copy this as best you can. I’m no calligrapher but with a steady hand, lots of patience and a careful eye you can do it.
Once all your numerals are done then its time to ‘antique’ the paper with a damp used tea bag. You can get it looking blotchy by dabbing with a tissue in certain areas after you’ve used the tea bag.
Let the tea dry and then begin to draw in pencil your rose. Or whatever other decoration you choose. This done you can then water colour it. If you’re confident enough the omit the pencil step and go straight for the water colour painting.
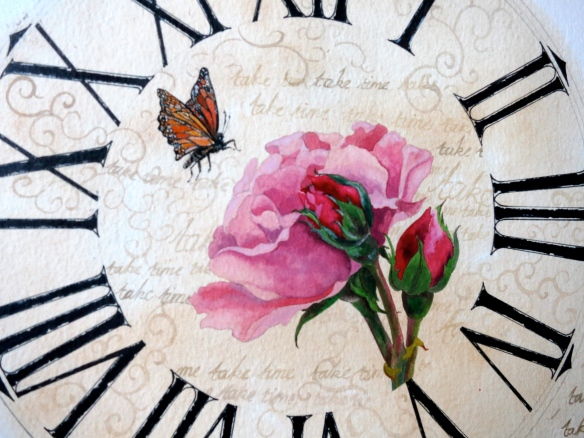
Now use your black fatter sharpie to partially colour in the Roman numerals. I quite liked the partial coverage because it had more of a vintage feel and gave it a printed effect. However, before you do the above you need to take the thin sharpie and carefully go over your pencil lines to give yourself an area to work in. Its worth it so do do it.
Now you could leave it like this, but I felt that to be in true vintage style I needed some calligraphic writing so I mixed a sepia colour with the water colours and began to brush words in my own style of calligraphy. I liked this bit because commercial clocks have words like Paris, London, or the maker’s name. My clock has the words I want which were ‘take time’. I also did some brushed arabesque swirls to assist the eye around the clock and soften harsh edges.
Once all this is done then all you need to do is cut your MDF/wood to size, drill the central hole for your mechanism to go through and stick it on the back of the clock face with the spray mount. (NB spray the back of the clock face on another piece of paper and not straight on your work surface otherwise it gets extremely sticky).
Add your clock hands to the front, put your battery in and there you have it. Your own original clock face. It doesn’t save you time but it is an original piece of art work to adorn your walls. Things you may want to consider. Perhaps a varnish to seal the clock face, I’m quite happy with mine the way it is but you may feel differently. Maybe painting the water colour decoration a little lighter, occasionally it’s a little tricky from far away to see the hands if you use a dark colour.
You could try using fabric or paper as the face, you could be unoriginal and find free downloadable clock faces in the style you like. What about using a map of your local area as the face decoration and then add a face on top of it. Perhaps tea bag a piece of music to ‘antique’ it and use that. Or maybe a mandala pattern type face. What about a checkerboard or OP art face. Use a black pen and doodle all over it.
I hope this tutorial has been helpful, if it has inspired you in any way or you have made your own DIY clock then please share it and I could put your pictures up here too.


